Geometric Green and Pink Design
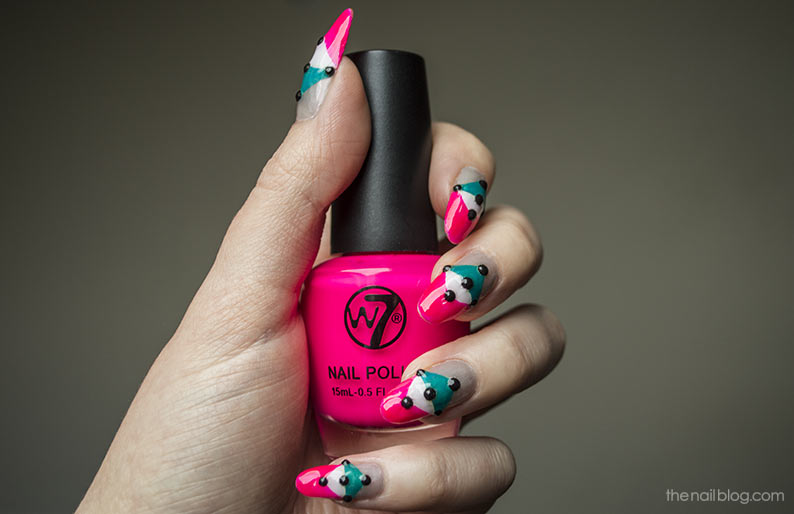
One of my favourite things about the Web is that this is the place where the inspiration comes from. Every time I surf the Internet, I discover more and more talented nail bloggers, but Madeline Poole is one of my favourite ones at all times. She specializes in simple shapes, geometric designs and gradients. Thus, today’s nail design was inspired by one of her most famous manicures.
How I made this
- Apply a base coat to protect your nails and smooth ridges.
- Apply 1 coat of a sheer nail polish. I used F&F Nails — grey with the shimmer of pink, the nail varnish from Tesco. It is not a must to apply it on the entire surface of the nail, you can apply it only on the half of the nail.
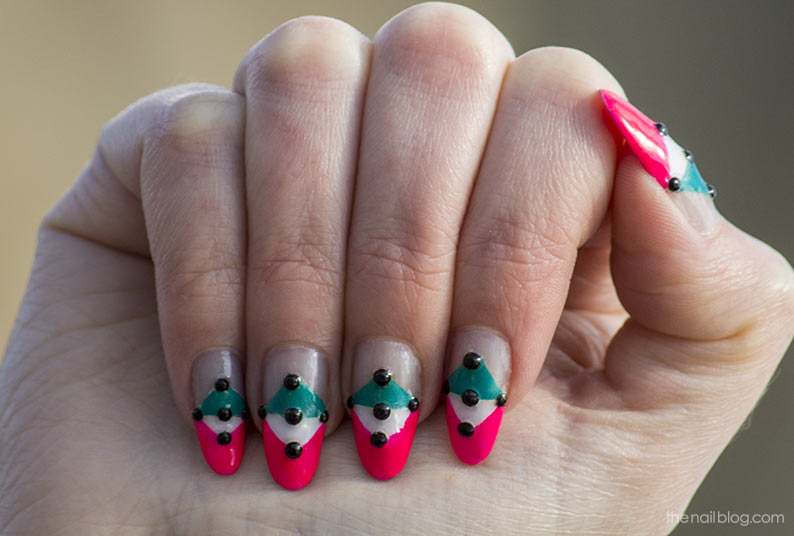
- Then, we need to start drawing our geometric design with the brightest colour (white in this case). At this stage, our design doesn’t need to be accurate, striping tape is not required. I used Sally Hansen: Complete Salon Manicure — 410 Lavender Cloud. Because this nail polish is not very opaque, I had to apply three coats: from the middle to the tip of the nail.
- Before we can use striping tape, it’s very important to let our nails completely dry. Use any of your favourite nail art tapes to apply two coats of green lacquer Miss Sporty: Clubbing Colours — 346 China Glaze in the triangular shape.
- Then, with the help of nail strips, apply two coast of W7 — 76 It’s Pink at the tip of the nail. Let it dry.
- Now, use your favourite top coat to set black rhinestones. I used rhinestones of two different sizes: the bigger ones at the middle and the smaller ones at the sides and all small ones for a pinky.
- Apply two coats of Sally Hansen: Insta-Dri — Anti-Chip Top Coat to protect your design and make it smooth.

 Pinterest
 Instagram
 Flickr


